On this page
A tree can be the natural focal point of a holiday display, but wrapping every visible branch is rarely the only way to make it stand out. Before buying lights, decide what the tree should look like from the sidewalk, where the display will be viewed, and which parts can be decorated without climbing or reaching unsafely. A little planning can keep the result intentional—and make installation and removal easier.
Start with a ground-level design
Take a photo of the tree from the main viewing spot, such as the front walk or across the street. Mark the trunk, major branches, and the silhouette you want to preserve. A photo helps you compare a lighted-tree idea with the house, porch, and other decorations without making decisions while handling equipment.
Look at the tree’s natural structure. A narrow evergreen may read clearly with lights distributed through its visible shape. A mature deciduous tree with strong branching can look striking when only its trunk and a few major limbs are accented. A small ornamental tree may need just a restrained trunk treatment to be visible. These are design options, not rules: the right amount depends on the tree’s form, the viewing distance, and the rest of the display. Leaving some branches dark gives the eye a place to rest.
Choose trunk, branches, or canopy
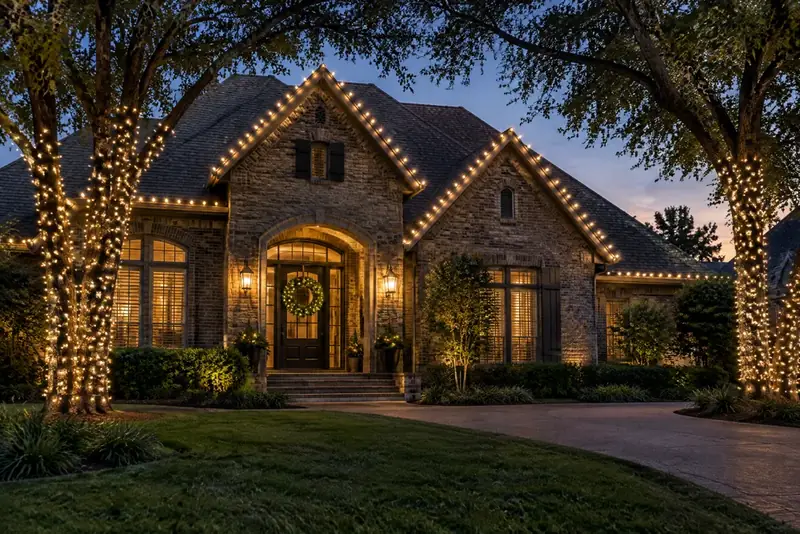
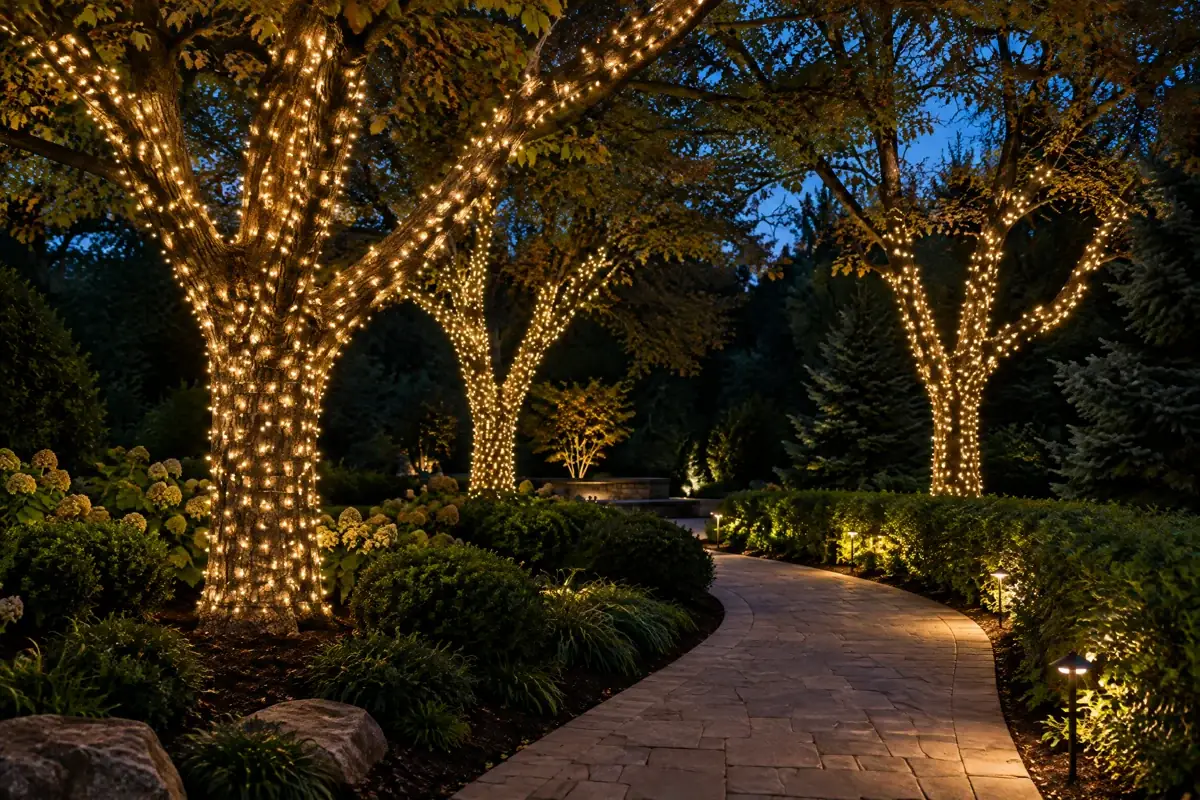
Trunk-focused lighting creates a clean vertical line and can be a good fit when the trunk is the feature you notice first. It is also a way to avoid visually crowding a tree with a delicate or irregular crown. Plan the finished look from the ground; do not assume the lights must reach the top.
Selected-branch lighting follows a few substantial limbs and emphasizes the tree’s shape. Rather than outlining every twig, choose the branches that form the clearest structure from the viewing angle. This approach usually looks more deliberate when the lit sections are balanced, even if the tree itself is not perfectly symmetrical.
Canopy coverage can suit a compact, densely branched evergreen that is within safe reach. For a large tree, a partial canopy can look unfinished if the strands stop abruptly at an awkward height. In that case, consider a trunk-only or lower-branch design, or ask a qualified installer to assess the work instead of stretching the plan beyond safe access.
Make spacing an aesthetic choice
There is no universal spacing that looks right on every tree. Close, consistent spacing creates a brighter, more continuous band; wider spacing leaves more bark and foliage visible and can feel lighter. Before committing, compare the tree’s appearance in a ground-level photo or use a small, approved sample only where it can be placed safely and according to its instructions. Judge the effect at the usual viewing distance, not just up close.
Keep the pattern consistent within each section. If the trunk has a close rhythm but the branches suddenly become sparse, the transition can look accidental. You might instead use a slightly wider rhythm throughout, or make a clear visual distinction between the trunk and selected branches. Follow the light manufacturer’s connection, use, and outdoor-rating instructions; do not choose strand quantities or combinations based on a generic rule.
Protect the tree and respect access limits
Tree bark and buds can be damaged by rough handling, broken twigs, or tight attachments. The Morton Arboretum advises a light touch, protecting bark, and avoiding ties that can rub or cut into a plant as it moves. Do not fasten lights tightly around a trunk or branch, drive hardware into the tree, or improvise a mounting method. If a suitable, non-damaging attachment is unclear, leave that section undecorated or ask a qualified professional.
Only consider work that can be done from stable ground or another safe, intended access point. Do not climb a roof, stand on a makeshift platform, lean or overreach, or handle electrical equipment in wet conditions. If the plan requires a ladder, work near overhead lines, or reaches into a tall canopy, refer that scope to qualified help rather than treating it as a do-it-yourself extension of the design.
Before use, inspect light sets for damage and use only products marked for the intended outdoor conditions, following their labels and instructions. The U.S. Consumer Product Safety Commission recommends checking light sets and using products tested for safety by an independent laboratory. If a strand is damaged, wet inside, unusually hot, smells burnt, or repeatedly trips a protective device, stop using it and seek qualified help. Never bypass a protective device or attempt wiring repairs.
Plan removal before installation
Tree wrapping is a seasonal display, not a permanent tree tie. The Morton Arboretum warns that wires left around trunks or branches can eventually cut into bark as plants grow, and recommends removing lights promptly. Put a take-down date on the calendar when you plan the display. If a strand is divided into manageable sections, label or photograph the layout so removal can be systematic and requires less tugging on branches.
A simple plan might be: accent the trunk and two visible main limbs of a broad deciduous tree; use a consistent, airy pattern; leave the upper canopy dark; and schedule removal as part of the holiday closeout. If the tree’s scale or access makes that plan impractical, simplify the design rather than forcing it.
For a coordinated tree, wreath, and garland concept, explore wreaths and garland tree wrapping. The best tree-lighting plan is the one that suits the tree you have, can be installed within safe limits, and includes a clear path to taking it down.
Sources
Explore Wreaths Garland Tree Wrapping.
See the service overview, then tell us what you are considering for your property.