On this page
A balanced Christmas roofline display is less about tracing every edge and more about deciding which parts of the home deserve attention. A few deliberate lines can make a roof shape easy to read; outlining every gable, dormer, gutter, window, and porch at once can make the whole facade compete with itself. Start with a view from the ground, settle on one focal point, and edit from there.
Begin with a ground-level picture
Take a straight-on photo from a spot where you can see most of the front of the house. If the design will be viewed from the street or driveway, take a second picture from that everyday approach. Use the images as a planning surface—not as a reason to climb up for a closer look. You can mark ideas digitally or on a printed copy.
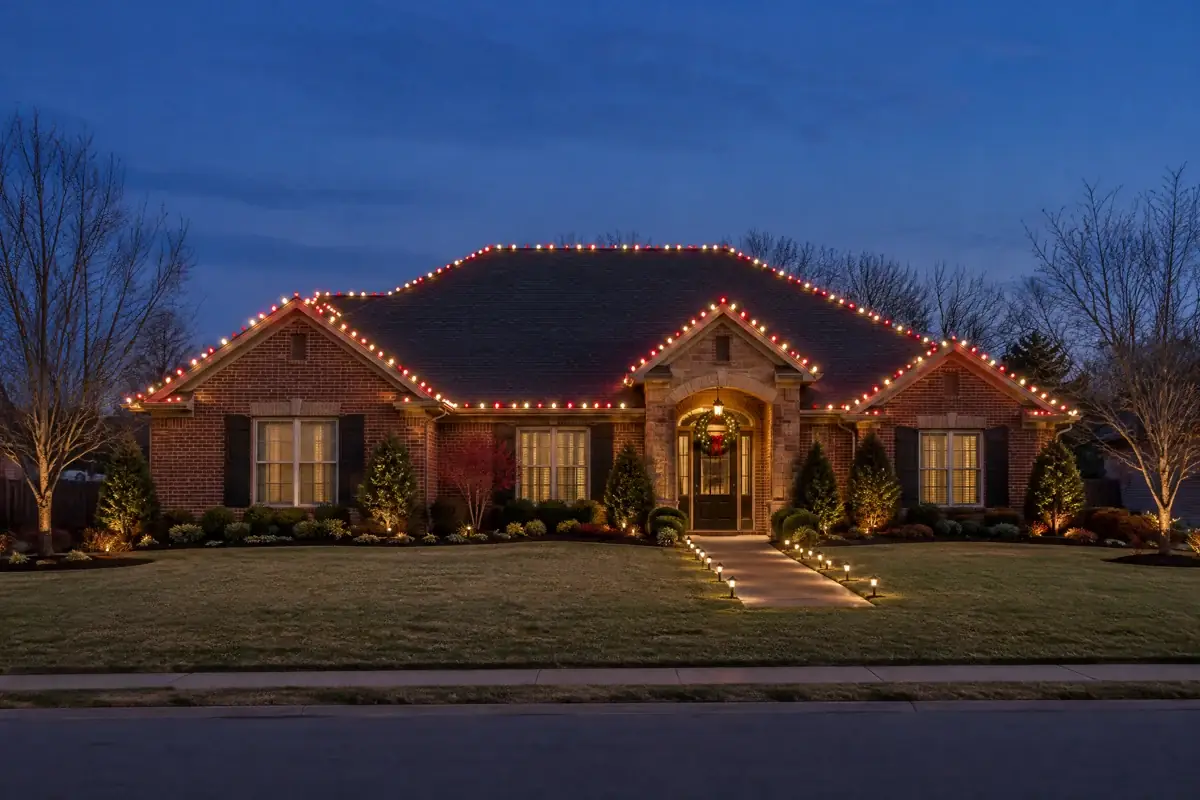
Trace the major roof edges, then note the visual features below them: a prominent entry, a porch, a tall window group, or a strong central gable. Ask what should read first from the viewing distance. On a home with a broad, low roof and a distinct front entry, for example, the entry could be the focal point while a single main eave line gives it a frame. On a home with one prominent front-facing gable, that gable may already supply the emphasis; adding every nearby edge may not improve the composition.
Give the display a hierarchy
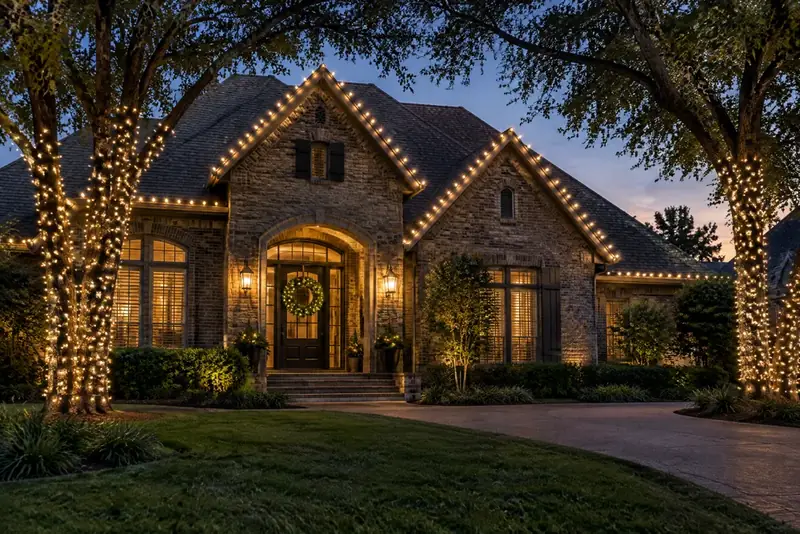
Think in three roles: a primary line, a supporting feature, and open space. The primary line might be the most visible eave or a central gable. A supporting feature could be the porch roof or a small entry accent. Open space is intentional: it lets the eye rest and helps the illuminated shape stand out against the unlit parts of the house. These are design choices, not fixed rules about how many roof sections a home should have.
Try a simple editing exercise on the photo: mark every possible outline in one color, then erase all but the two or three lines that best explain the home’s shape. If the result feels too sparse, restore one supporting detail at a time. If the first thing you notice is a tangle of equally bright edges, remove a line or two and check again.
A common mistake is treating symmetry as a requirement. A centered house can look composed with matching left and right roof sections, but a home with an attached garage, offset porch, or uneven gables may be naturally asymmetrical. Balance can come from visual weight rather than identical outlines: a long, simple roof run on one side may feel proportionate beside a shorter roofline plus a restrained entry accent on the other. Judge the whole facade, not each side in isolation.
Check scale, continuity, and sightlines
Compare the proposed lines with the home’s proportions in the photo. A small porch roof can disappear if the design puts all its emphasis on a much larger roof edge; conversely, accenting every small projection may fragment the overall shape. Keep the main gesture easy to follow. If a line stops and restarts around several features, decide whether those breaks clarify the architecture or make the outline feel busy.
Review the plan at more than one size: zoom in to catch awkward intersections, then zoom out or step back to approximate the distant view. Look from the front walk and the usual street approach. Notice whether a neighboring bright feature, exterior fixture, or existing seasonal decoration competes with the roofline. The goal is not to make every part equally prominent, but to make the intended focal point legible.
Before settling on a color or brightness scheme, view a small sample in context when product instructions allow. A choice that seems subtle up close may carry more visual weight across a long roof edge. Keep the design consistent enough to feel intentional, and resist adding extra colors merely to fill empty sections. Empty space is part of the composition.
Make the plan installation-ready—and safe
Write down which roof edges are in the concept, which are deliberately left out, the chosen focal feature, and the viewing point that matters most. Share the ground-level photo and those notes when discussing an installation. Keep planning and installation separate: this guide is not a roof-access or mounting tutorial, and homeowners should not climb onto a roof to measure, attach, or adjust lights.
For the electrical plan, check labels and instructions rather than assuming all light strings are suitable for exterior use or interchangeable. The Electrical Safety Foundation International’s outdoor decoration guidance advises using cords and decorations marked for outdoor use, inspecting them for damage, protecting outdoor circuits with GFCIs, and keeping cords clear of standing water. The U.S. Fire Administration’s holiday safety guidance says to discard strands with frayed or pinched wires and follow the manufacturer’s instructions for how many strands to connect. A neat-looking drawing never overrides a product’s rating or directions.
If lights or cords show damage, water has entered equipment, anything overheats or smells burnt, or a protective device trips repeatedly, stop using the setup and seek qualified help. Do not attempt to solve those problems by bypassing protection or improvising a connection.
A balanced roofline begins with restraint: choose the feature worth noticing, draw only the lines that support it, and leave room for the home itself to show through. For help discussing a residential holiday-lighting plan, see Lighting Up Oklahoma’s residential Christmas light installation service.
Sources
Explore Residential Christmas Light Installation.
See the service overview, then tell us what you are considering for your property.