On this page
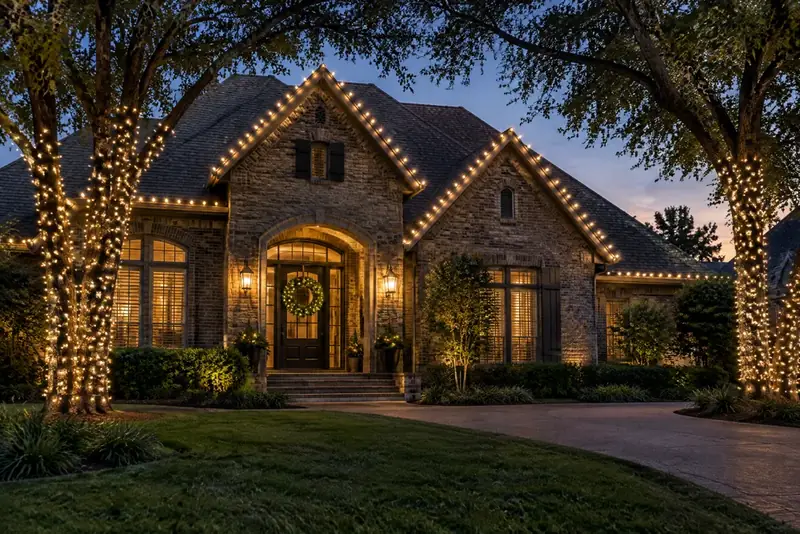
A brick or stone exterior already has color, pattern, and depth before a single holiday bulb is switched on. The most successful display usually works with those features instead of trying to cover every surface. Start with a ground-level photo, try a small palette, and plan how lights will relate to trim and rooflines before choosing where anything attaches.
Read the masonry in daylight
Look at the house from the street in daylight, when you can distinguish the masonry's undertones and variation. Red or russet brick may include brown, charcoal, or pale mortar; limestone can read creamy, gray, or golden; manufactured stone may combine several shades. These are useful observations, not rules about which color you must choose.
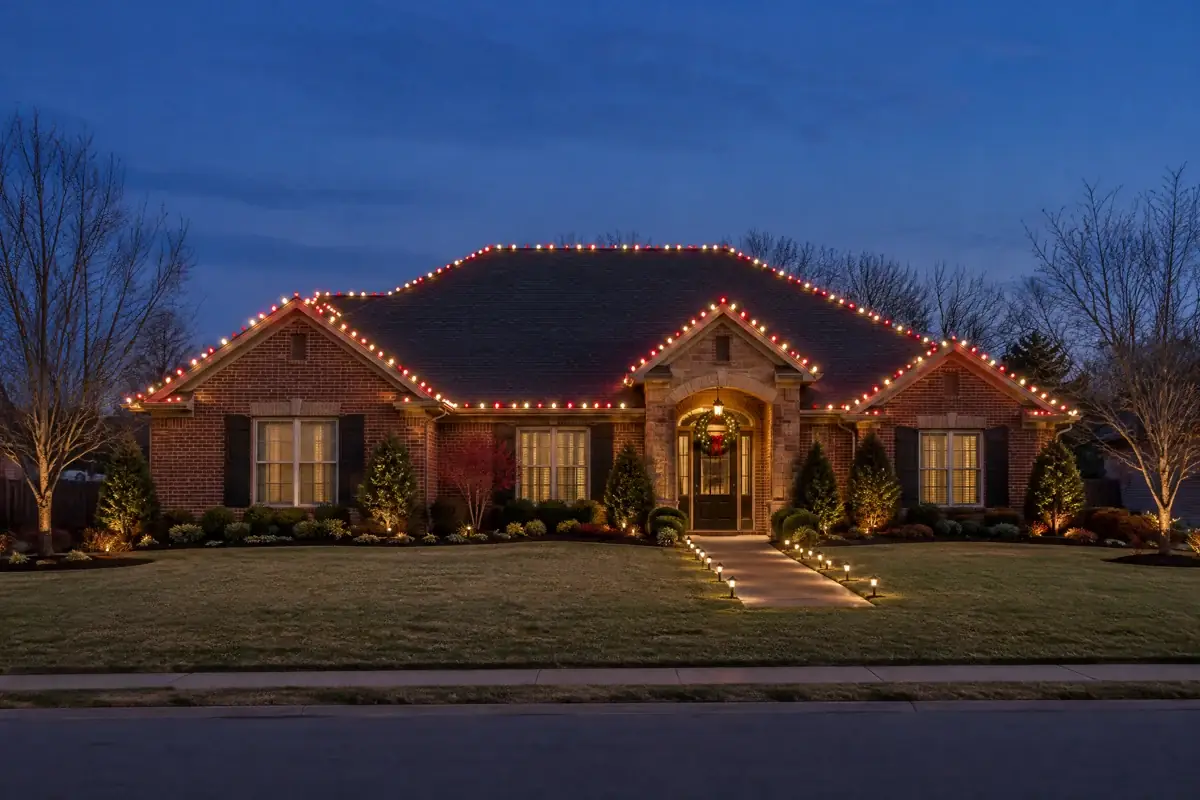
Take a straight-on photo of the front and mark the visual anchors: roof edge, porch opening, prominent gable, columns, and windows. Then consider a restrained palette in that photo. For example, a warm-looking white can echo creamy stone or tan mortar, while a cooler-looking white may feel crisp beside gray stone or dark trim. On red brick, a mostly white roofline with one restrained green accent can keep the brick visible. These are design trials—not universal color formulas.
If you can safely view a sample at ground level, compare it against the photo after dusk. A camera display can shift color, so use it to narrow options rather than as a perfect preview. Keep the palette small: one main light color, with a second color reserved for a focal detail such as the entry.
Let texture and trim do some of the work
Masonry has visual texture. A dense outline around every wall, window, and architectural seam may compete with the surface's joints and color changes. Instead, pick one or two lines that make the home legible from the street. A clean roofline can frame a varied stone façade; a porch or entry accent can give a broad brick front a welcoming focal point. Leaving some wall unlit is part of the composition.
Notice the trim before adding another color. Dark shutters, pale fascia, wood doors, and metal gutters each change how a palette reads. Repeating one light treatment at the porch and roof edge can feel more cohesive than using a different color at every window. If the façade already has strong contrast—light mortar against dark brick, for example—simpler lighting often lets that detail remain visible.
Choose attachment points for the actual surface
Brick and stone are not interchangeable with smooth siding. Their roughness, joints, finish, and condition vary, so a clip or adhesive that works on one exterior is not automatically right for another. As one example, 3M's product page for Command Outdoor Light Clips describes use on sealed, smooth outdoor surfaces and lists painted cinder block, but does not list rough brick or natural stone. Read the exact product instructions and surface list; do not infer masonry compatibility from the word “outdoor.”
A less intrusive plan may use suitable existing trim or other approved attachment points rather than fastening directly to the face of the masonry. That is a planning idea, not a recommendation to improvise hooks, adhesives, nails, or anchors. If the proposed route depends on drilling, uncertain mortar, a fragile finish, or a high roof edge, ask a qualified installer how to secure the display without harming the surface. Never pin a cord in a door or window, crush it, or attach lights in a way that could damage insulation. ESFI advises that outdoor lights be secured to firm supports without damaging cord insulation; see its outdoor decoration safety tips.
Make a simple plan before installation
Use this short checklist to turn the photo into a practical design:
- Choose the focal point. Mark the entry, a gable, or a single roofline—not every architectural feature.
- Test the palette. Compare two or three color combinations against the masonry, trim, and existing exterior lighting.
- Draw the light path. Mark which edges will be lit and which areas will stay dark. Check the view from the sidewalk as well as straight on.
- Confirm mounting and power separately. Identify a compatible support and read each light set's labels and instructions; do not guess about surface suitability or connectable sets.
- Review from the ground. Before and after installation, look for a crooked line, glare into windows, loose-looking sections, and cords crossing a route.
Use only lights labeled for the intended outdoor use, inspect them before use, and follow their product instructions. CPSC recommends checking light sets for damage and using outdoor-certified lights outside; its holiday decorating safety guidance also advises securing outdoor lights to firm supports. If a set is damaged, wet inside, unusually hot, smells burnt, or repeatedly trips a protective device, stop using it and seek qualified help. Do not climb or work on energized equipment to correct a problem.
For a display suited to your home's materials, you can explore residential Christmas light installation. A clear daylight photo and your notes on preferred colors, focal area, and surfaces you do not want touched make a useful starting point for a quote discussion.
Sources
Explore Residential Christmas Light Installation.
See the service overview, then tell us what you are considering for your property.